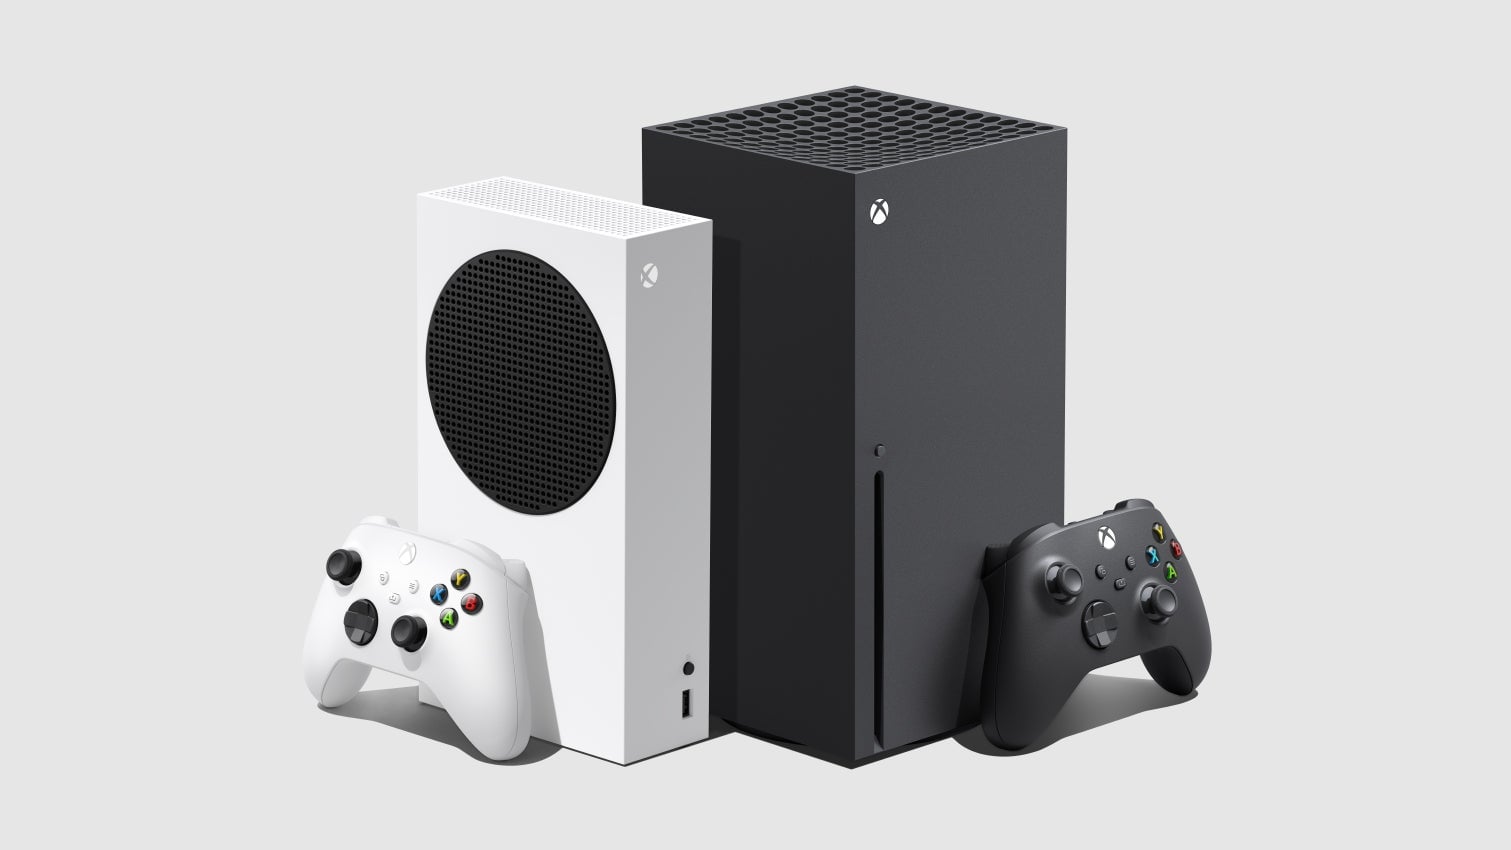
And just like that, the next generation is here. The Xbox Series X and its smaller, more affordable sibling, the Xbox Series S, are available (well, to those who were quick enough on the draw to nab preorders). If you’re coming over from the Xbox One, you probably know your way around already. The interface and operating systems are all but identical. The controller’s more or less the same. Still, whether this is your first Xbox or your fifth, there are some tips and tricks that will help you make the most of it.
Access your settings.
For newcomers, tracking down the settings on an Xbox console might not be immediately obvious. Seeing as the settings house the vast majority of the cool, under-the-radar stuff you can do, learning where they are should be your first task (if you don’t know already).
First, press the Xbox guide button (the one in the center with the Xbox logo on it. Tab over to your profile. Scroll down to “settings.” All done? Great! Let’s get to the good stuff.
Adjust the idle mode.
In your settings, scroll down to “Preferences” and click on “Idle options.” This allows you to set a timer that will automatically dim your Xbox after a set period of time, so you don’t, say, walk away to eat, forget to turn your Xbox off, and come back half an hour later to a screen still burning bright. You’ll find standard intervals ranging from two minutes (on the low end) to an hour (on the high end). And the timer doesn’t close any games or apps; it just tones down the brightness.
As far as I can tell, the system will go to sleep after an hour.
Set up the universal zoom function.
Text too small? There’s an app for that—kind of. The Xbox Series X offers a zooming tool similar to one of the coolest features on the Nintendo Switch: You can zoom in anywhere, at any time, on a system level. Here’s how to set it up:
Open up your settings.
Scroll down to “Ease of Access.”
Click on “Magnifier” (the one with the little magnifying glass icon).
Check off the box at the bottom to turn it on; uncheck it to turn it off.
To turn the magnifier on while playing a game, just hold down the guide button until a menu of power options pops up. Hit the back—or, if you must split hairs, the “view”—button. When the magnifier is on, you use the triggers to adjust the zoom (right for in, left for out) and the right thumbstick to pan your field of view. You can double-tap the Xbox guide button to lock a zoom in place. And if you want to turn it back on, you can just open the power menu again and tap the view button. That’ll switch things back to normal.
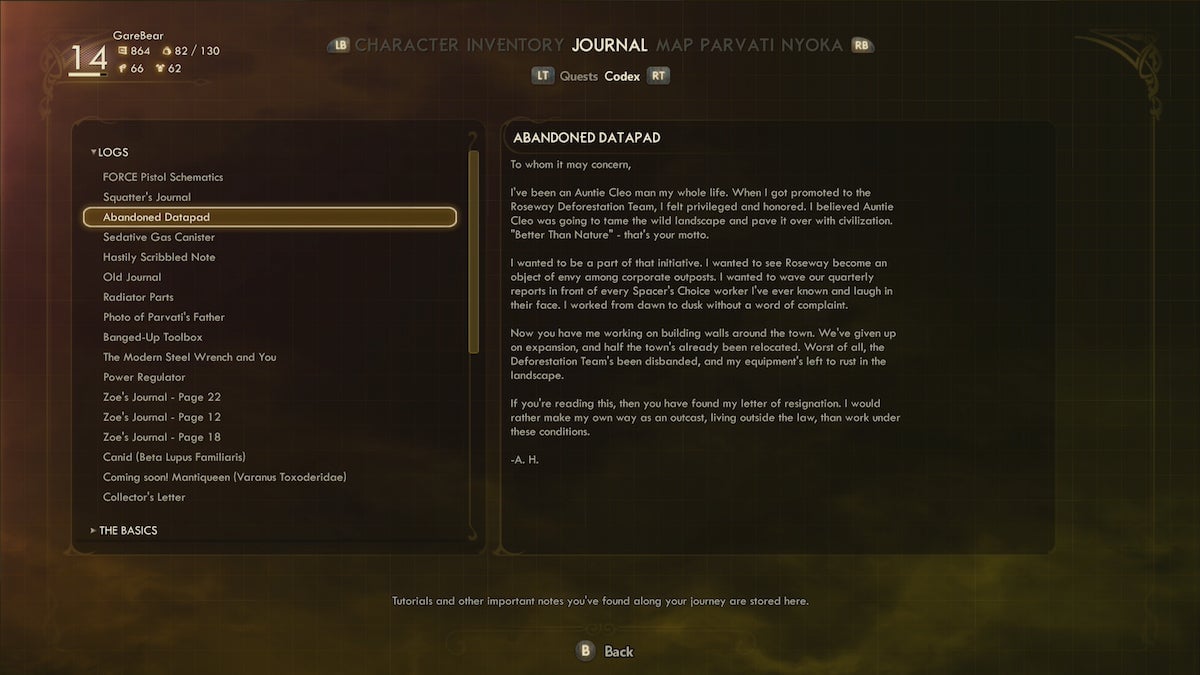
The magnifier is certainly a little wonky when you try to use it during actual gameplay—for instance, don’t expect it to magically give you iron sights for the bow in Assassin’s Creed Valhalla—but it works like a charm when you’re in menus or codexes. Your ophthalmologist will thank you.
Customize your aesthetic.
There’s no need to stare at the drab, default color scheme forever. At any point from the Xbox’s main screen, you can tap the view button to pull up a whole suite of customization options. The primary use here is as a tool for adding, moving, or removing all the clutter that comprises your home screen. But the secondary use is the one that’ll unlock your inner artiste. By clicking on “My color and background,” you’ll see a list of options for tweaking the general aesthetic of your Xbox’s operating system.
Let’s play a quick game of Before and After. Here’s how the scheme looked at default (at least for those of us who received consoles a few weeks ago):
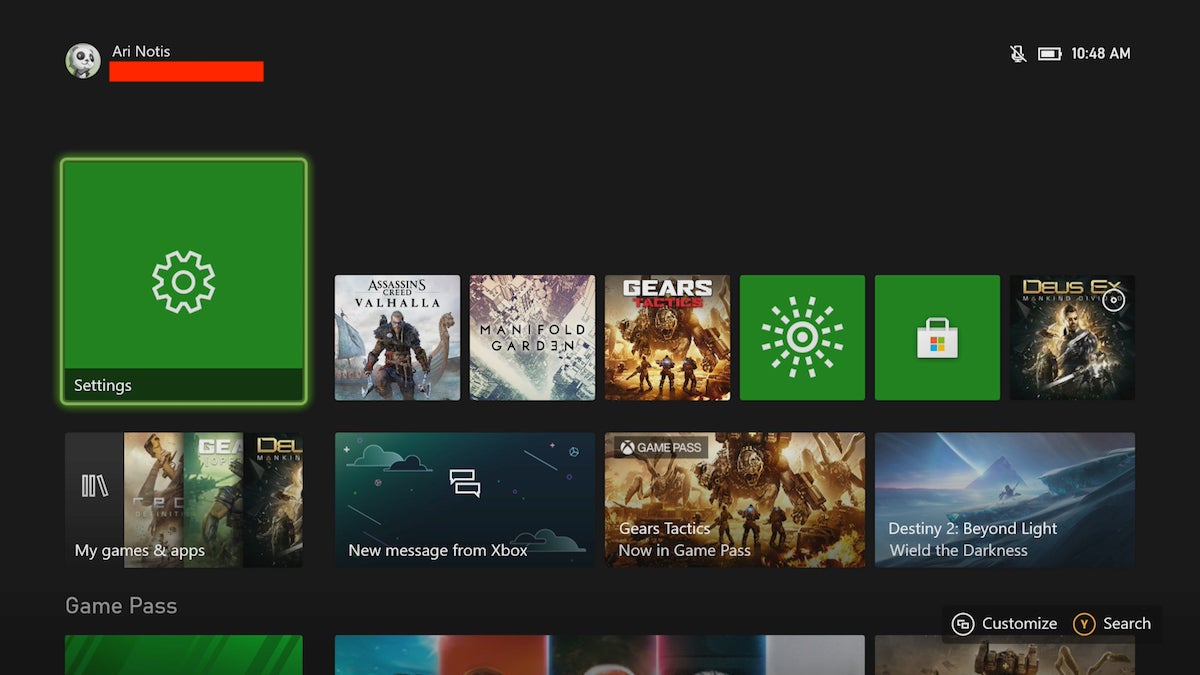
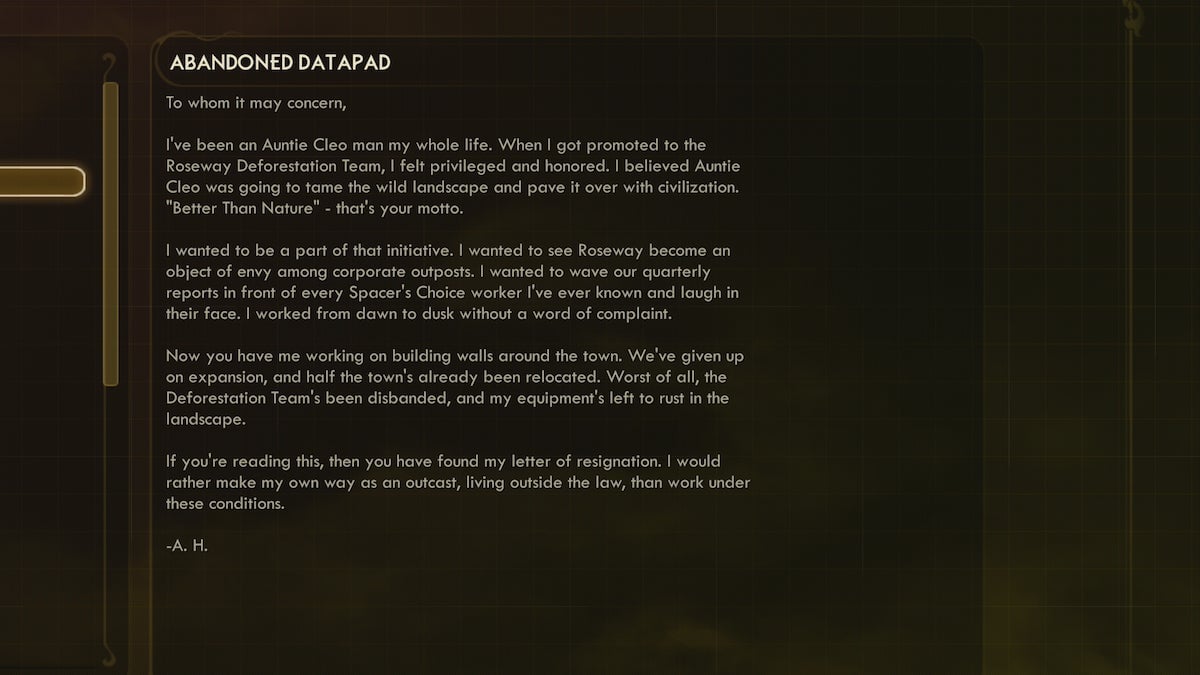
And here’s how it can look after some customization:
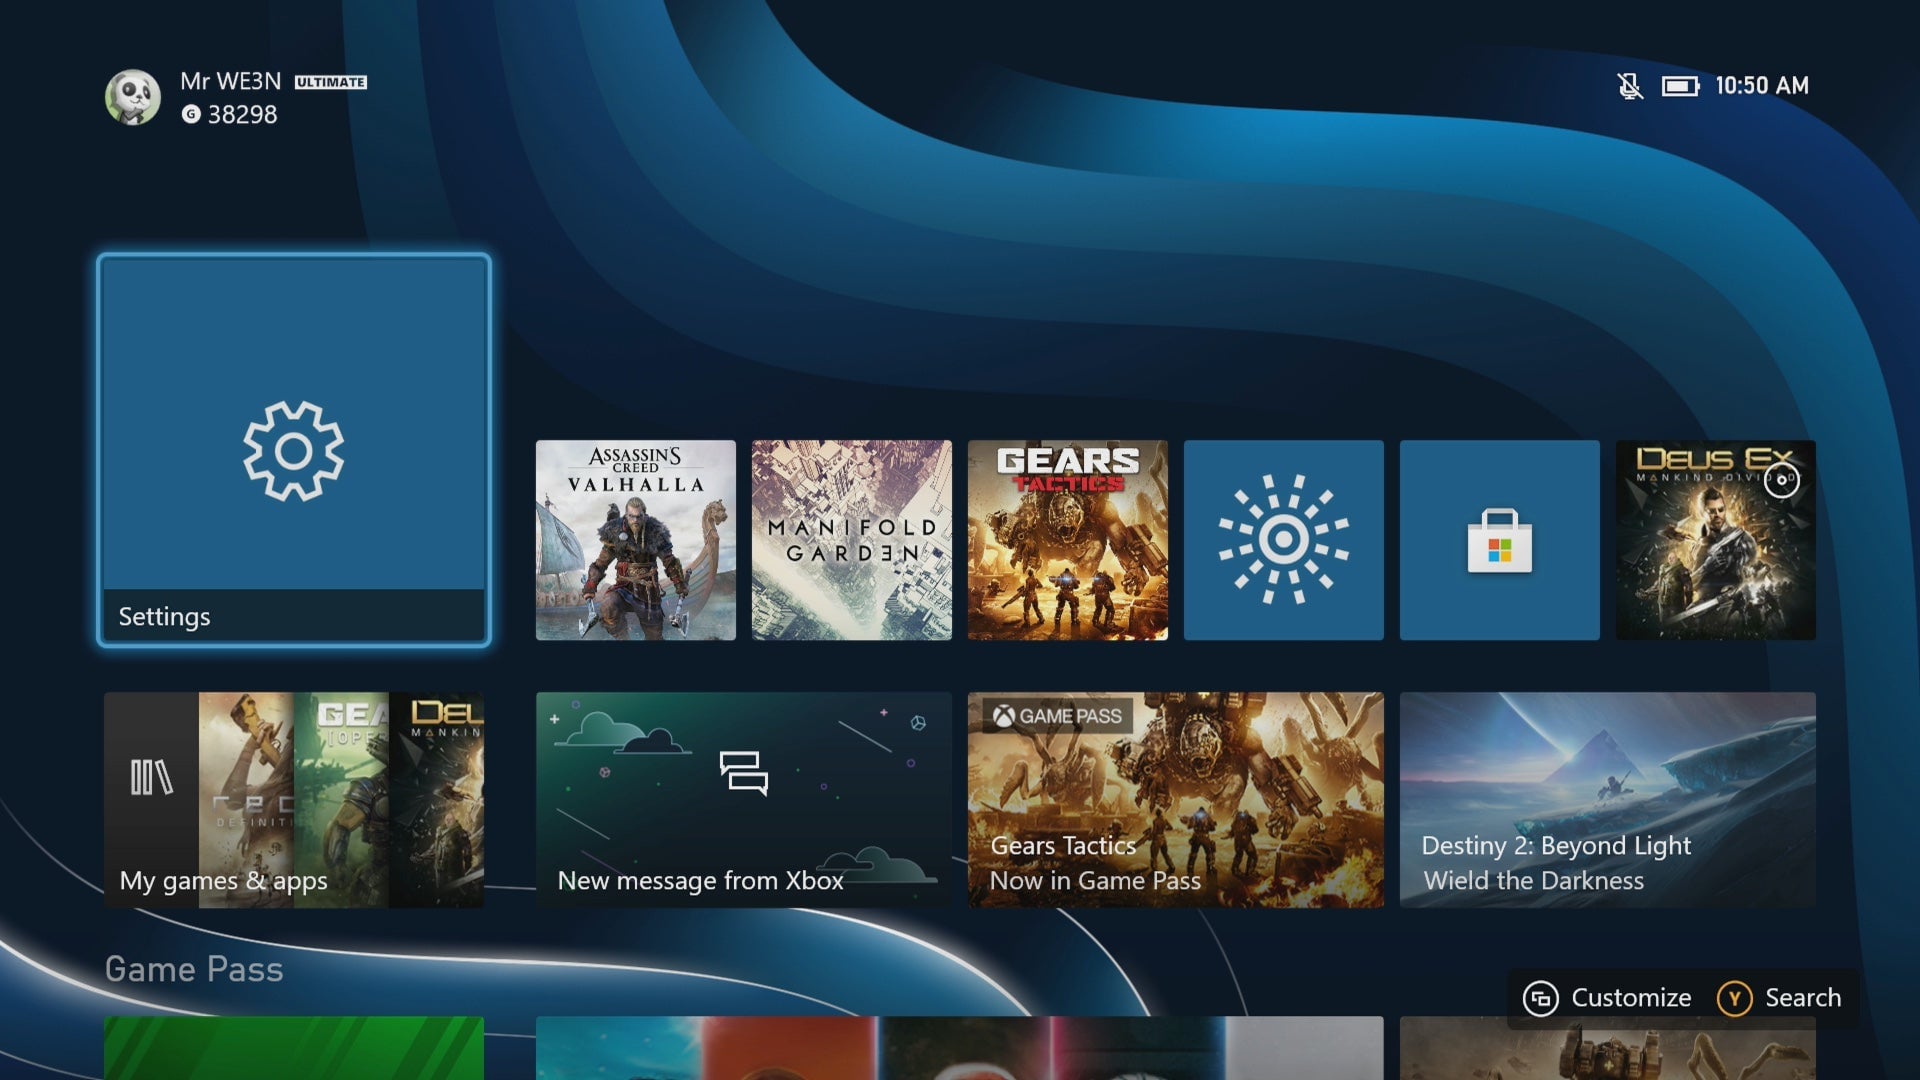
Much better.
Rearrange the Xbox guide.
In that customization menu, right below “My color and background,” you’ll also see an option to rearrange the top bar of your Xbox guide. (That’s the sidebar menu that pops up when you tap the guide menu.) Don’t get any ideas: You can’t delete any of the tabs. So if you were of the mind to purge the chat tab forever, hey, no judgement, I sympathize with that, but sorry, you’re out of luck.
What you can do is move things around. I’ve shuffled mine up so the main guide, my profile, and my captures are on the left, while the things I couldn’t care less about—my friends list, my chat tab, my achievements—are on the right. Do as you see fit. And if you don’t like the result, you can always restore it to the default arrangement at the push of a button.
Filter your games by generation (or by other criteria).
The Xbox Series X and S aren’t launching with any major marquee exclusives, but that doesn’t mean you’ll find yourself limited to playing backward compatible games. Microsoft is touting improved performance for a series of games that are “optimized” for the new consoles, meaning they’ll perform better across the board, with higher framerates and sharper visuals and all that jazz. Around 30 or so will be available at launch. (More will become available in the coming months.) Through a non-feature feature called Smart Delivery, you’ll automatically receive this next-gen version of games you already own, so long as the developer supports it.
You can tell whether or not you’re playing the scaled-up version of a game by looking at its icon. If there’s a small “X|S” stamp in the lower-left corner, you’re playing an optimized game. If not, you’re not.
You can also get your KonMari on and organize your games by generation. (Be sure to thank the Xbox One games for sparking joy in your life first.). Head to “my games and apps.” In the games tab, select the “filter” drop-down menu, which is identifiable by a funnel-shaped icon. Switch “all console types” to “Optimized for Xbox Series X|S games.”
Don’t sleep on the sorting tools.
In your games library, direct yourself to the drop-down menu on the upper-left corner. You’ll see a list of ways to sort your library. The most intuitive setting, the default one, is to do so alphabetically. It can also be useful to sort games “by last used,” which will show games in three key categories: those you downloaded or played yesterday, three days ago, or a week ago. Scroll down a bit more and you may even see the mysterious “older” category. It’s a nice tool for seeing which games could be dusted off—or deleted.
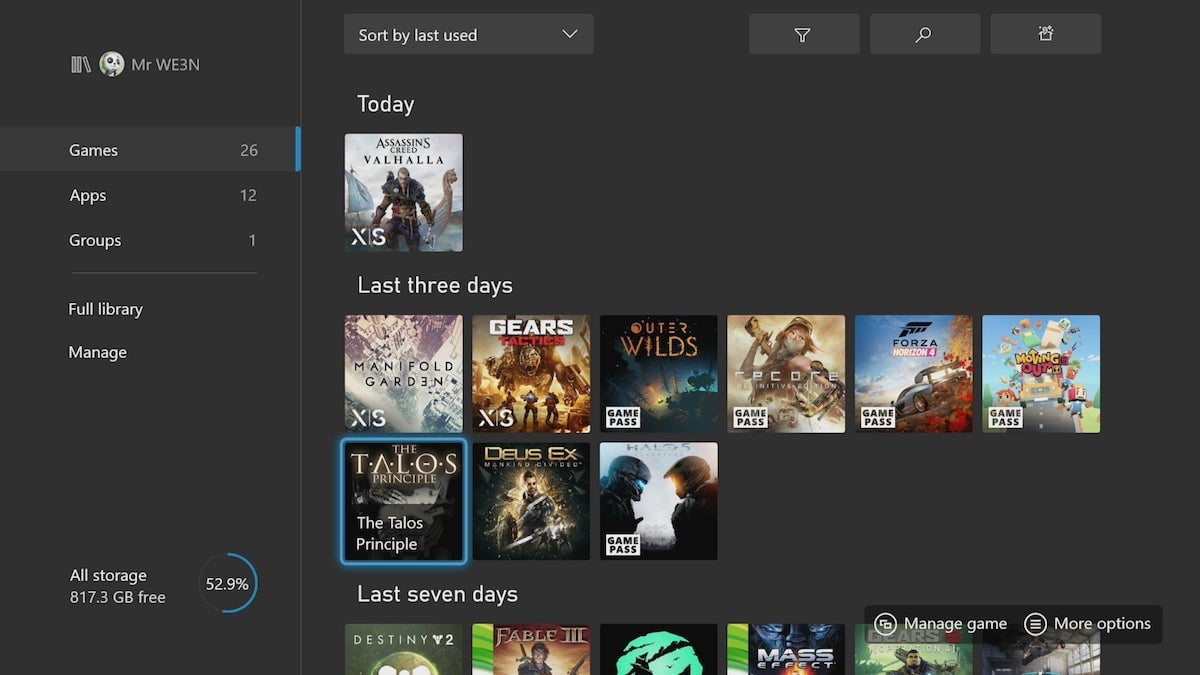
And if you want a quick way to see how huge (or not-so-huge) your games are, just sort things by file size. That’ll affix a text overlay with to-the-gigabyte counts over each game icon in your library.
Get a grip on Quick Resume.
The defining feature of these new Xbox consoles—a game-suspension function called Quick Resume—is also a fickle one. When it works, it works. You can flick through games in a matter of seconds, not minutes, and pick up each exactly where you left off. Few things feel more revolutionary than busting out 540 Methods in Tony Hawk Pro Skater 1+2, tabbing over to Assassin’s Creed Valhalla to scale some monasteries, flicking to Wizard of Legend for some dungeon-crawling, and then zapping back to Tony Hawk. It’s truly awesome. Still, there are some quirks to be mindful of.
For one thing, it’s not so great for multiplayer and other persistently connected games. You’ll often get booted to the lobby or back to the main menu. For another, there seems to be a behind-the-scenes limit on how many games you can juggle at once. I’ve found that Quick Resume sputters and starts dropping games once you try to balance half a dozen or so—and it drops them in a hidden way, at that. You won’t get a warning about which games will suddenly have the plug pulled. Maybe someday Microsoft will implement a tab in the Xbox guide that shows you which games your console is juggling with Quick Resume. At the moment, though, your best bet is to keep a running list in your head of which games you have running.
(Just to note: Much of our testing with Quick Resume was conducted with the console in a pre-release state, where Microsoft disabled the feature for certain games. Your mileage may vary.)
You can play with your capture settings.
The default capture settings on an Xbox Series X might not line up with how you want to snap screenshots or record gameplay. For instance, maybe you’d prefer that your Xbox doesn’t automatically upload screenshot captures to Xbox Live (where they show up on your Xbox app). Or perhaps you’d prefer to store your screenshots and videos directly to an external drive. For video clips, you might want to grab brief high-resolution clips as opposed to lengthy lower-res ones. You can customize all of this stuff (and more) by heading to your settings, scrolling down to “Preferences,” and clicking on “Capture and share.” Play around with it.
As a bonus, tweaking your capture settings is one small way to help free up space on a console that, all things considered, doesn’t have too much of it.
You can sync up Xbox One controllers.
If you’re in need of an extra controller, don’t head to Amazon or Target and drop $60 on a new one. Just repurpose one of your old Xbox One controllers. Xbox One controllers work without issue on the Xbox Series X. The only drawback is that anyone using the older model won’t be able to capture screenshots at the push of a button (which, to be fair, is probably a good thing). And get this: Xbox One controllers are easier to sync up on the Series X than on their console of origin, mostly because the pairing button isn’t a finicky switch hidden next to the disc drive.
On the front of your Series X or S, you’ll see a circular, Lego-bump-sized button next to the USB port. Hold that down. You should see your console’s power button start to flash. At the same time, pick up the Xbox One controller you want to pair. Between the two triggers, you’ll find a small, circular button. Hold that down until the Xbox guide button starts to flash. Once your console and your controller stop flashing, you should be good to go.
Also, not for nothing, you can pair an Xbox Series X controller with an Xbox One.
You can check your download speed.
In your settings, open up the “General” menu and click on “network settings.” You should see an option to “Test network speed and statistics.” If your internet is feeling wonky, that’s the option you should choose. “Test network connection” will tell you whether or not your console is connected to the internet. “Test network speed” will actually give you some detailed information, like your upload speed, download speed, latency, packet loss, and whatnot. Of course, if your connection is wonky, having the information on-hand won’t help you make things any better. But sometimes it’s nice to know, you know?
Beneath that test, you can also run a test for your multiplayer connection. So far, my matchmaking network has always showed up as “good.” Who needs details!
Transfer games from Xbox One over a local network.
For most, moving games and save data from an Xbox One to an Xbox Series X or S will be a seamless transition. All of the games affiliated with your account can be found in your games library. And there’s also the fact that Microsoft automatically and instantly syncs your save files with the cloud, pending an internet connection. Once you sign into your new console for the first time, you may be astonished to find yourself right at home—almost like you’ve moved apartments, opened the door on the new place, and found not just your furniture and tchotchkes but also an identical floor plan and the very same busted kitchen faucet.
But if you’re on an internet plan with a data cap, you might not want or be able to re-download hundreds and hundreds of gigabytes worth of video games. In that case, you’d be better served by transferring your games over a local network transfer. Here’s how to do so, in ten easy steps:
Turn on both your new Xbox and your old one.
On both machines, open up the settings and go to the “System” menu.
Click on “backup and transfer,” and then navigate to “network transfer.”
You’ll see just one option. Check it off.
Now, on your new Xbox, go back to the “network transfer” menu. You should see a list of consoles on your local network. Select your old Xbox.
Select the ones you want to move and hit “copy selected.”
Wait patiently for the downloads to finish.
Maybe make some dinner or mix yourself a drink or put on a movie or something.
Clean the dishes. Take out the trash. Fold your laundry.
Play away!
There are other ways to transfer your games from an Xbox One, including via an external hard-drive, which can just plug right into the front of the Series X. Any Xbox One games stored on an external drive will be good to go. And, if you’re on the Series X, you can always do things the old-fashioned way: by popping an Xbox One disc directly into the disc drive. (Those on the Series S are unable to steal this trick.)
Set a break reminder.
The Xbox will allow you to set a timer that notifies you after you’ve played the console for a set length of time. In your settings, open up the “Preferences” menu and click on “break reminder.” You’ll see half-hour intervals. When activated, the timer will start counting from the moment you sign in, but the notifications will only pop up when you’re playing a game.
Personally, I’ve set my break reminder for the time that works best for me: “NEVER.” C’mon, why would I want to stop playing video games? Video games rule! Speaking of, I, uh, have a prior engagement to get to…
Bonus 14th tip: Have fun!
And if you unearth any great tricks for making the most of an Xbox Series X or S in the coming days and weeks, please share away. Yes, we’re in semi-charted territory here, but there’s still a whole lot to learn. Let’s figure out the uncharted stuff together.
Related Stories
https://lastchance.cc/two-weeks-with-my-xbox-series-s-1845623812%3C/a%3E%3C/p%3E
https://lastchance.cc/playstation-5-versus-xbox-series-x-s-ready-fight-1845599019%3C/a%3E%3C/p%3E
https://lastchance.cc/ask-us-anything-about-xbox-series-x-and-s-1845582338%3C/a%3E%3C/p%3E