How to install a Steam Deck custom boot animation
Alright, here’s how to actually install these things.
Setting a custom boot animation on Steam Deck is slightly more involved than just accessing a menu option, as you’ll need to dive into the file structure in desktop mode. But it’s quite easy. The basic gist is you tweak a setting on the desktop, create two folders, and paste in a .webm file. That’s basically it.
As for the OS version, no need to be on the beta channel. As long as your Deck is updated to at least SteamOS 3.3.2, you’re good to go.
Reveal hidden files in Desktop mode
Switch to Desktop mode and open up an instance of “Dolphin.” No, not the GameCube / Wii emulator. Dolphin is SteamOS’s file explorer, similar to Windows Explorer or macOS’s Finder.
Hit the sandwich icon in the upper right of the window and turn on “Show Hidden Files.” (Ctrl+H is a quick shortcut to accomplish this as well.)
Create the custom animation folder
After you have Hidden Files on, navigate to ~/.steam/root/config and create a folder called “uioverrides.” Yes, there are two Rs.
In that folder, create a “movies” folder. You’ll drop the custom boot video of your choice in there.

Prep your video
Steam Deck custom boot animations require a .webm video, preferably one similar in resolution to the Deck’s 1280×800 screen. If it isn’t already, rename the file “deck_startup.webm”. The boot animation won’t work, otherwise. Also, note that Steam Deck boot videos can only be 10 seconds long, at most.
All that’s left is to reboot your deck and enjoy your new animation! If it doesn’t work, review the steps above.
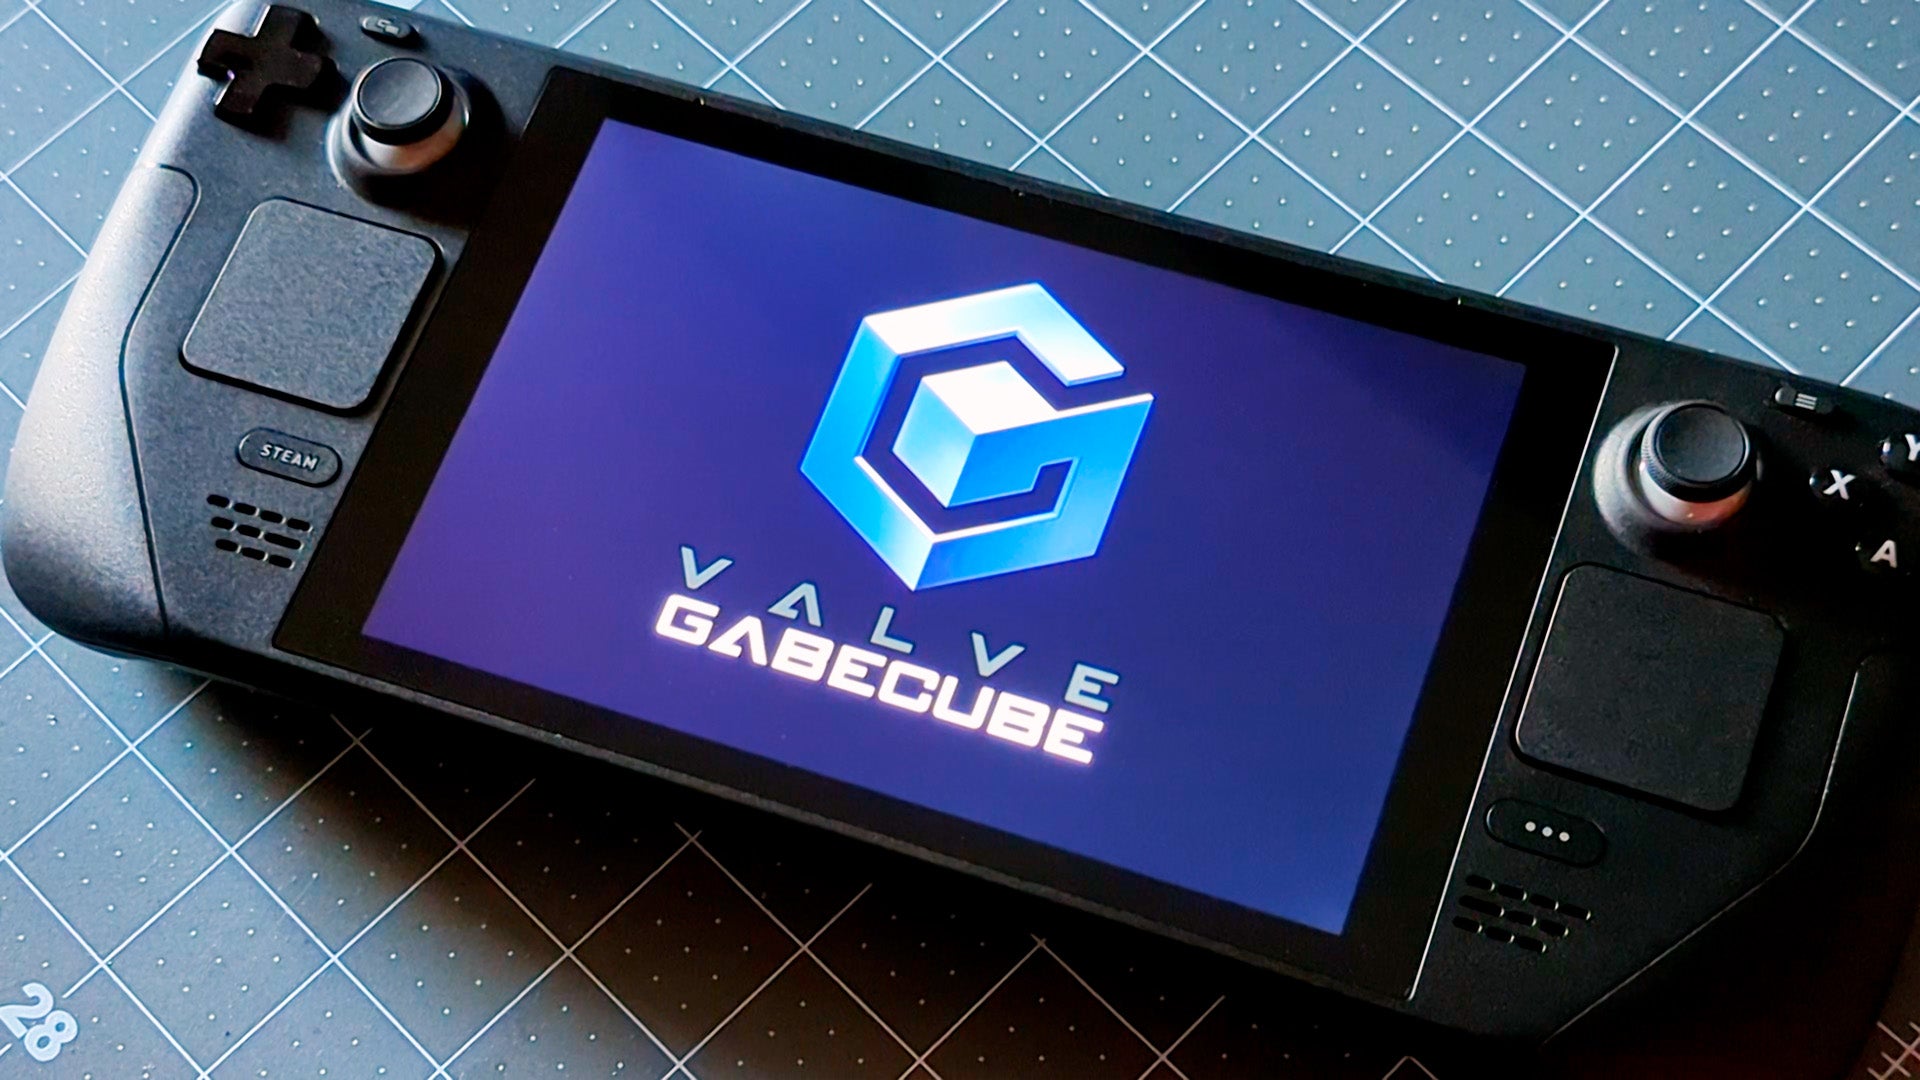
That’s all there is to it. Now that you know how, go ahead and install your own favorite Steam Deck boot animation. Beyond the 16 I’ve shared here, more and more are appearing every day, so go wild.