Super Smash Bros. is the quintessential Nintendo game: it’s incredibly fun, and easy for inexperienced players to enjoy thanks to its chaotic mixture of cartoon items and characters. But once you get a handle on how the high-level game works, things become far more interesting. It just takes some time to get there.
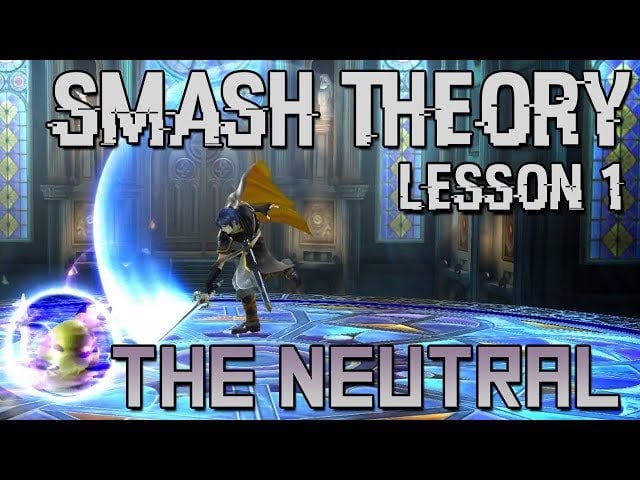
If you’re in the same camp as I am as a curious player who’s occasionally overwhelmed by the awesome level of depth and complexity in Super Smash Bros., I would highly recommend watching this video by YouTubers Rush Hour Smashcalled “Smash Theory: The Neutral.” Watch the whole thing below. It’s not even three minutes long!
https://www.youtube.com/watch?v=OYWXCTKKDV0
Unlike many other Smash-related videos on the internet, it won’t give you a strict tutorial on how to do anything in Nintendo’s excellent new fighting game. Instead, it does something arguably more important: it explains one of the core dynamics at play in almost any competitive Smash Bros. game. This is enormously valuable for pretty much anyone looking to learn a thing or two about the tactical muscles one must flex during a Smash match— whether you’re hoping to step up your own game or just appreciate other players’ more fully.
For the uninitiated, the “neutral game” in Smash refers to “the positioning in which both players have approximately even stage control, vying to convert their advantages into an edge guard.” Remember that one of the chief factors that sets Smash Bros. apart from other fighting games is that you win by knocking your opponent off of the stage you’re fighting on, rather than simply depleting his or her health. Getting the upper hand in a match therefore becomes a question of which opponent can best control a stage—pressuring his or her opponent into a defensive position where they’re always trying to make it back onto solid ground.
As narrator Corey Shin explains in the video, the “neutral” game in top-level Smash matches “is an exchange of high-level baits where the slightest micro-movement or overextension can lead to the loss of neutral [i.e., one player’s relative control of a stage] or, in some cases, the stock [a player character’s life].” This, in turn, is why shields are crucial for defending oneself in a match. When a shield is still active, your character is protected from enemy attacks—thus securing a relatively solid position on a stage. But enabling a shield comes with a tradeoff, of course—you can’t attack while shielding yourself, and the opponent can also chip away at the shield with attacks. And once a shield runs out, you just have to hope you can recover if you get knocked off a stage. That should help explain why the differences in characters’ recovery abilities are so important to consider.
The relative strengths and weakness of each different action one can take from a starting position of neutral means that Smash Bros. has a rock-paper-scissors-esque undercurrent to its competitive dynamic. “By nature,” Shin states in the video, “shielding is trumped by grabbing, while grabbing is beaten by attacking, and attacking is beaten by shielding.”
Shin gives a short blow-by-blow example of how this works out during a typical fight. Playing against Diddy Kong as Sheik, he recovers and lands on the right side of the stage. Since he’s not sure what Diddy is going to do next, he chooses to shield in anticipation of an attack.
Diddy rolls away to the right, so Sheik attacks with a dash attack. This knocks Diddy off the right side of the stage, but it’s not a meaty enough attack to send the Kong flying. Anticipating a rebuttal, Shin shields himself again, awaiting Diddy’s recovery move. Shin explains that he’s anticipating an aerial offensive retaliation, which would mean Diddy jumps and attacks the now shielded-Sheik.
Diddy doesn’t come back swinging. Instead, he just grabs the right ledge. This means that Sheik has the upper hand, and can start putting more pressure on Diddy. Shin lands another blow before Diddy recovers with his jetpack maneuver, making it back to center stage. Sheik hits Diddy again, sending him off the left side of the stage this time. Anticipating a recovery move, Shin drops Sheik below the left corner of the stage—ready to jump back up and hit Diddy again once he makes his move.
You can’t even see Sheik here, but he’s directly below Diddy and almost off the stage. It looks like a dangerous move to me, then—one that someone playing at my level would probably flub by accidentally falling to their death
Shin reacts to Diddy’s recovery by leaping back up above the left side of the stage and landing another blow before either of them put their feet back on the ground. Diddy now on the right-most edge of the stage, Shin uses Sheik’s “Bouncing Fish” kick to, well, kick him off the stage once again. And with Diddy’s damage now well into the red, Sheik leaps off the stage to catch him with another kick just after the poor Kong tried to pull off a recovery.
Phew. Man, just thinking about all of these tiny little decisions made and adjusted on the fly with every passing millisecond makes my head hurt. And that’s not even the end of the match!
Again, this is just the first in a series that Shin says he is planning to help explain the high-level Smash game to aspiring competitive players and curious onlookers. But it’s great for that exact purpose. Give the thing a look before you watch, or play, your next game of Super Smash Bros.
To contact the author of this post, write to [email protected] or find him on Twitter at @YannickLeJacq